

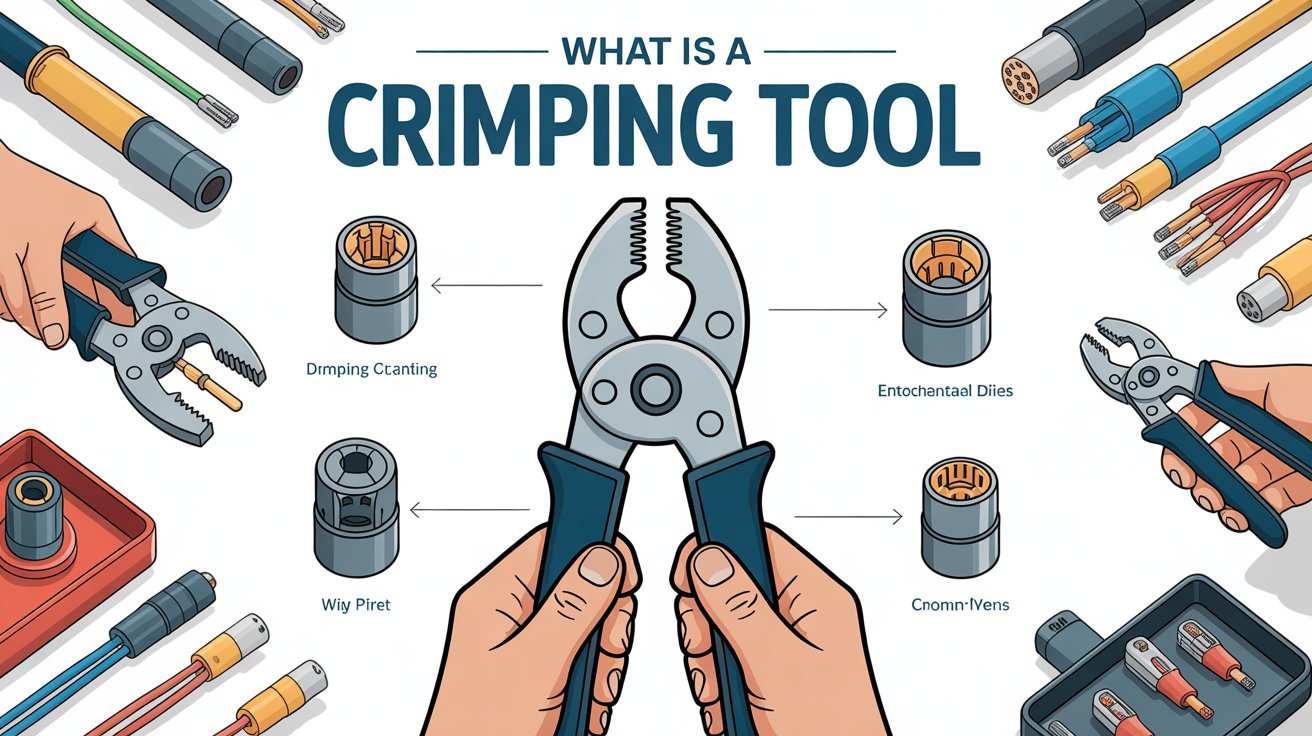
A crimping tool joins a connector to a wire by compressing metal to form a secure, conductive bond.
I have worked with electrical and network installations for over a decade, and I know exactly what is a crimping tool and why it matters. This article explains what is a crimping tool, how it works, the main types, practical steps for safe use, and tips I learned on the job. Read on to gain clear, reliable guidance so you can choose, use, and maintain a crimping tool with confidence.
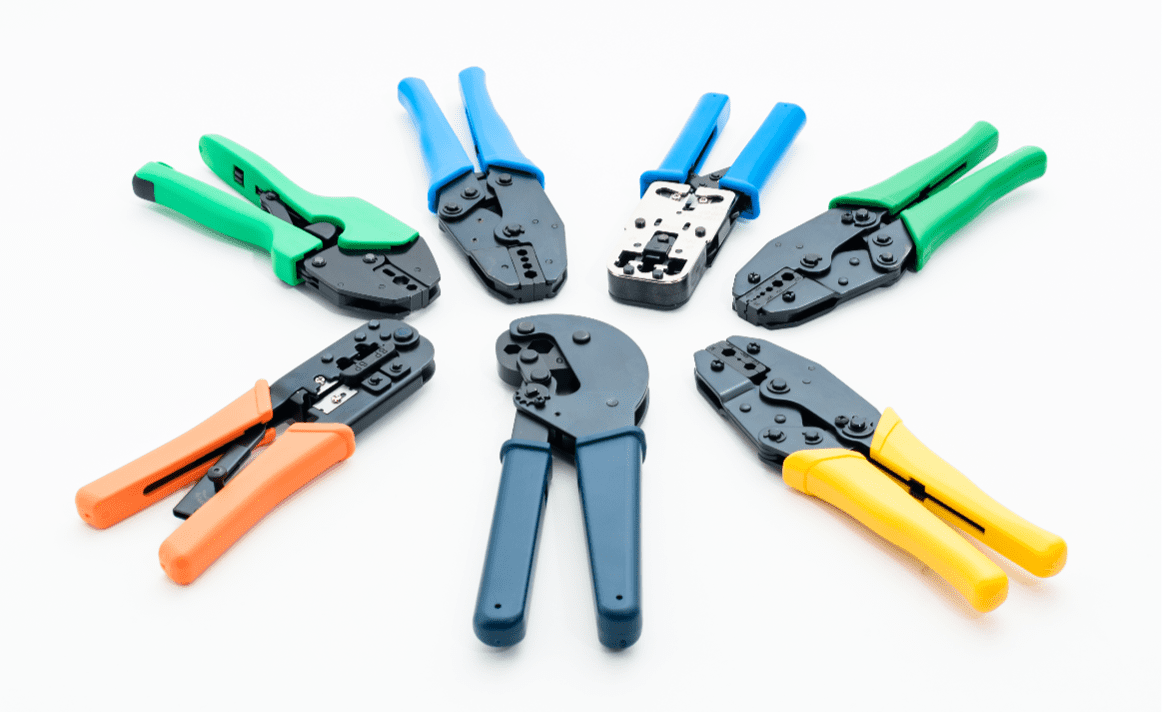
Types of crimping tools
A clear answer to what is a crimping tool starts with its variations. Different crimping tools match different connectors, wire gauges, and industries.
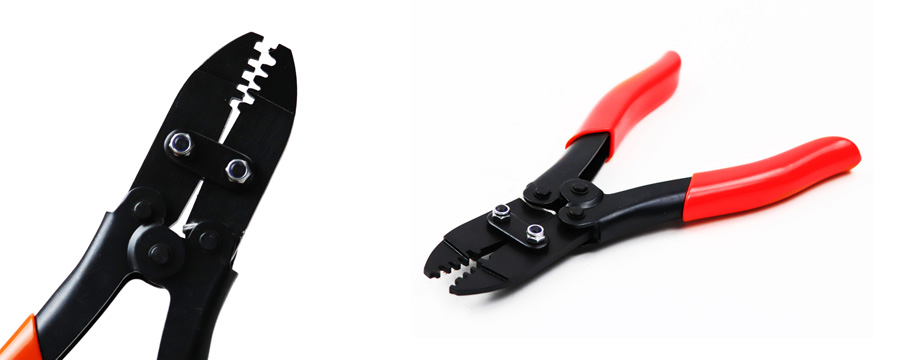
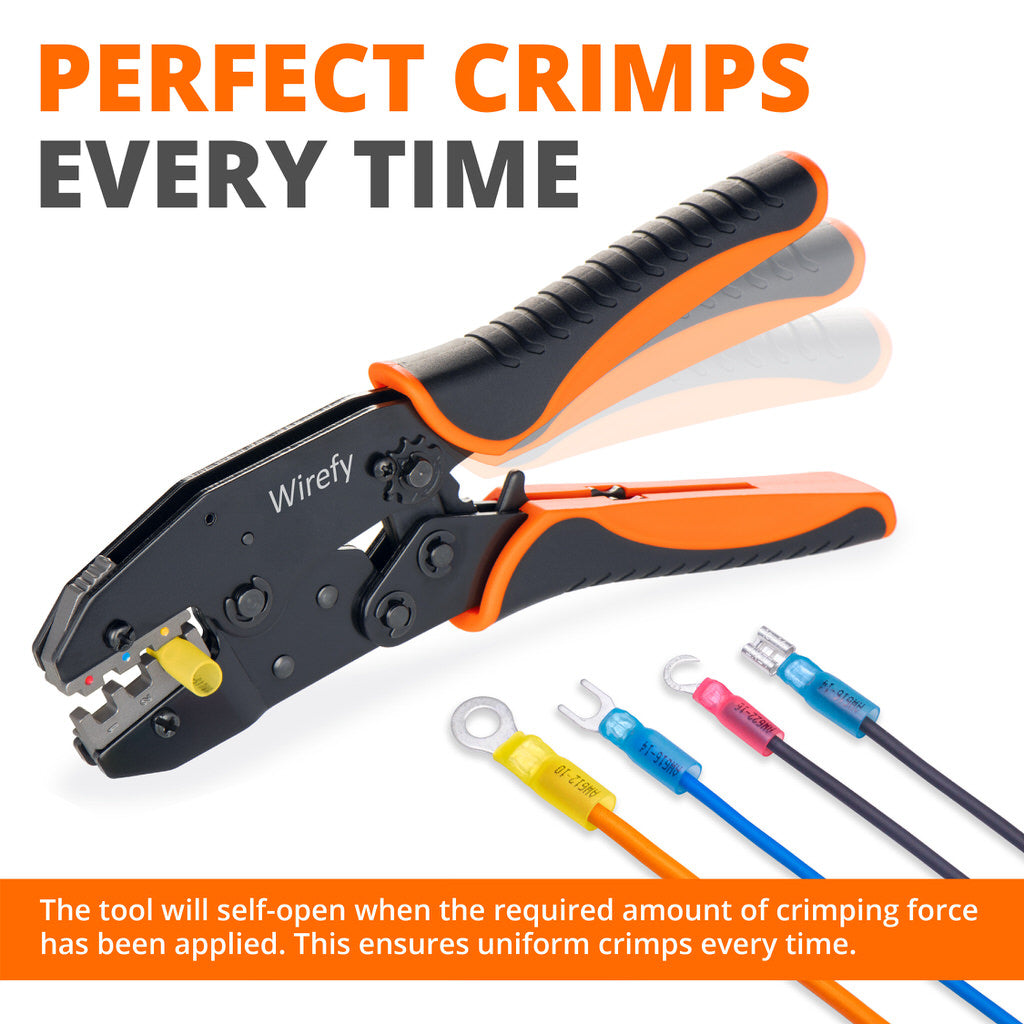
- Hand crimpers: Compact and manual, used for small terminals and jumpers.
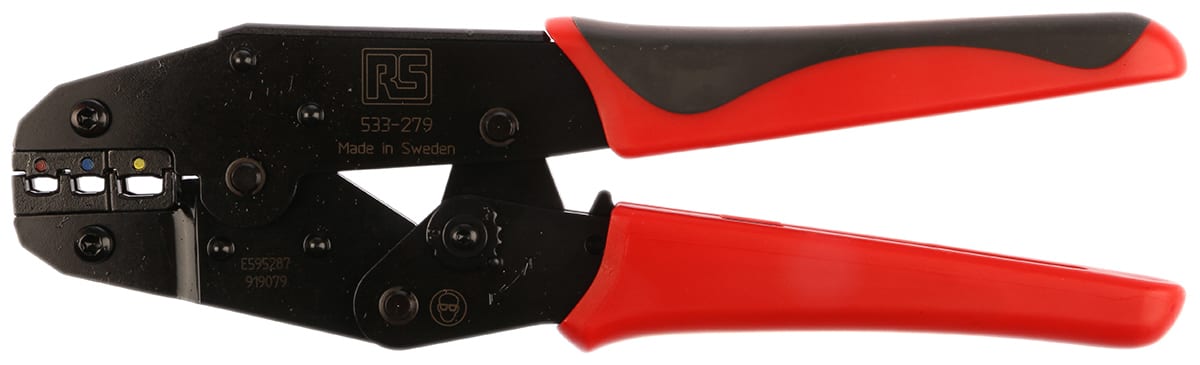
- Ratchet crimpers: Provide consistent pressure, common for insulated terminals.
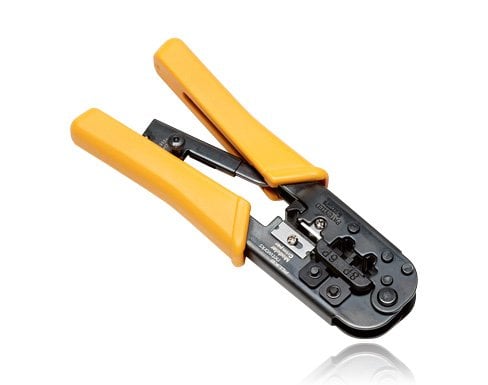
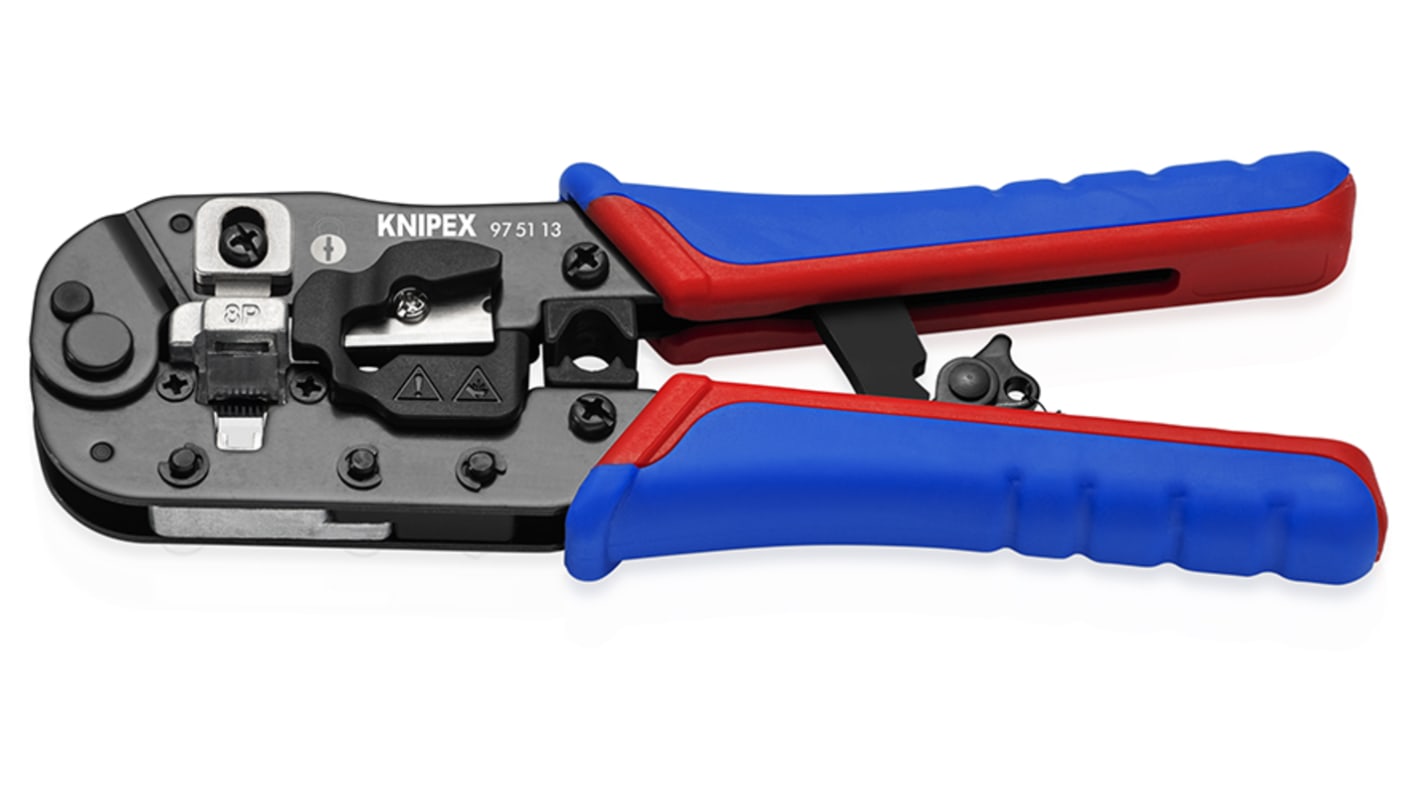
- Modular crimpers (RJ45/RJ11): Made for telecom and network connectors.
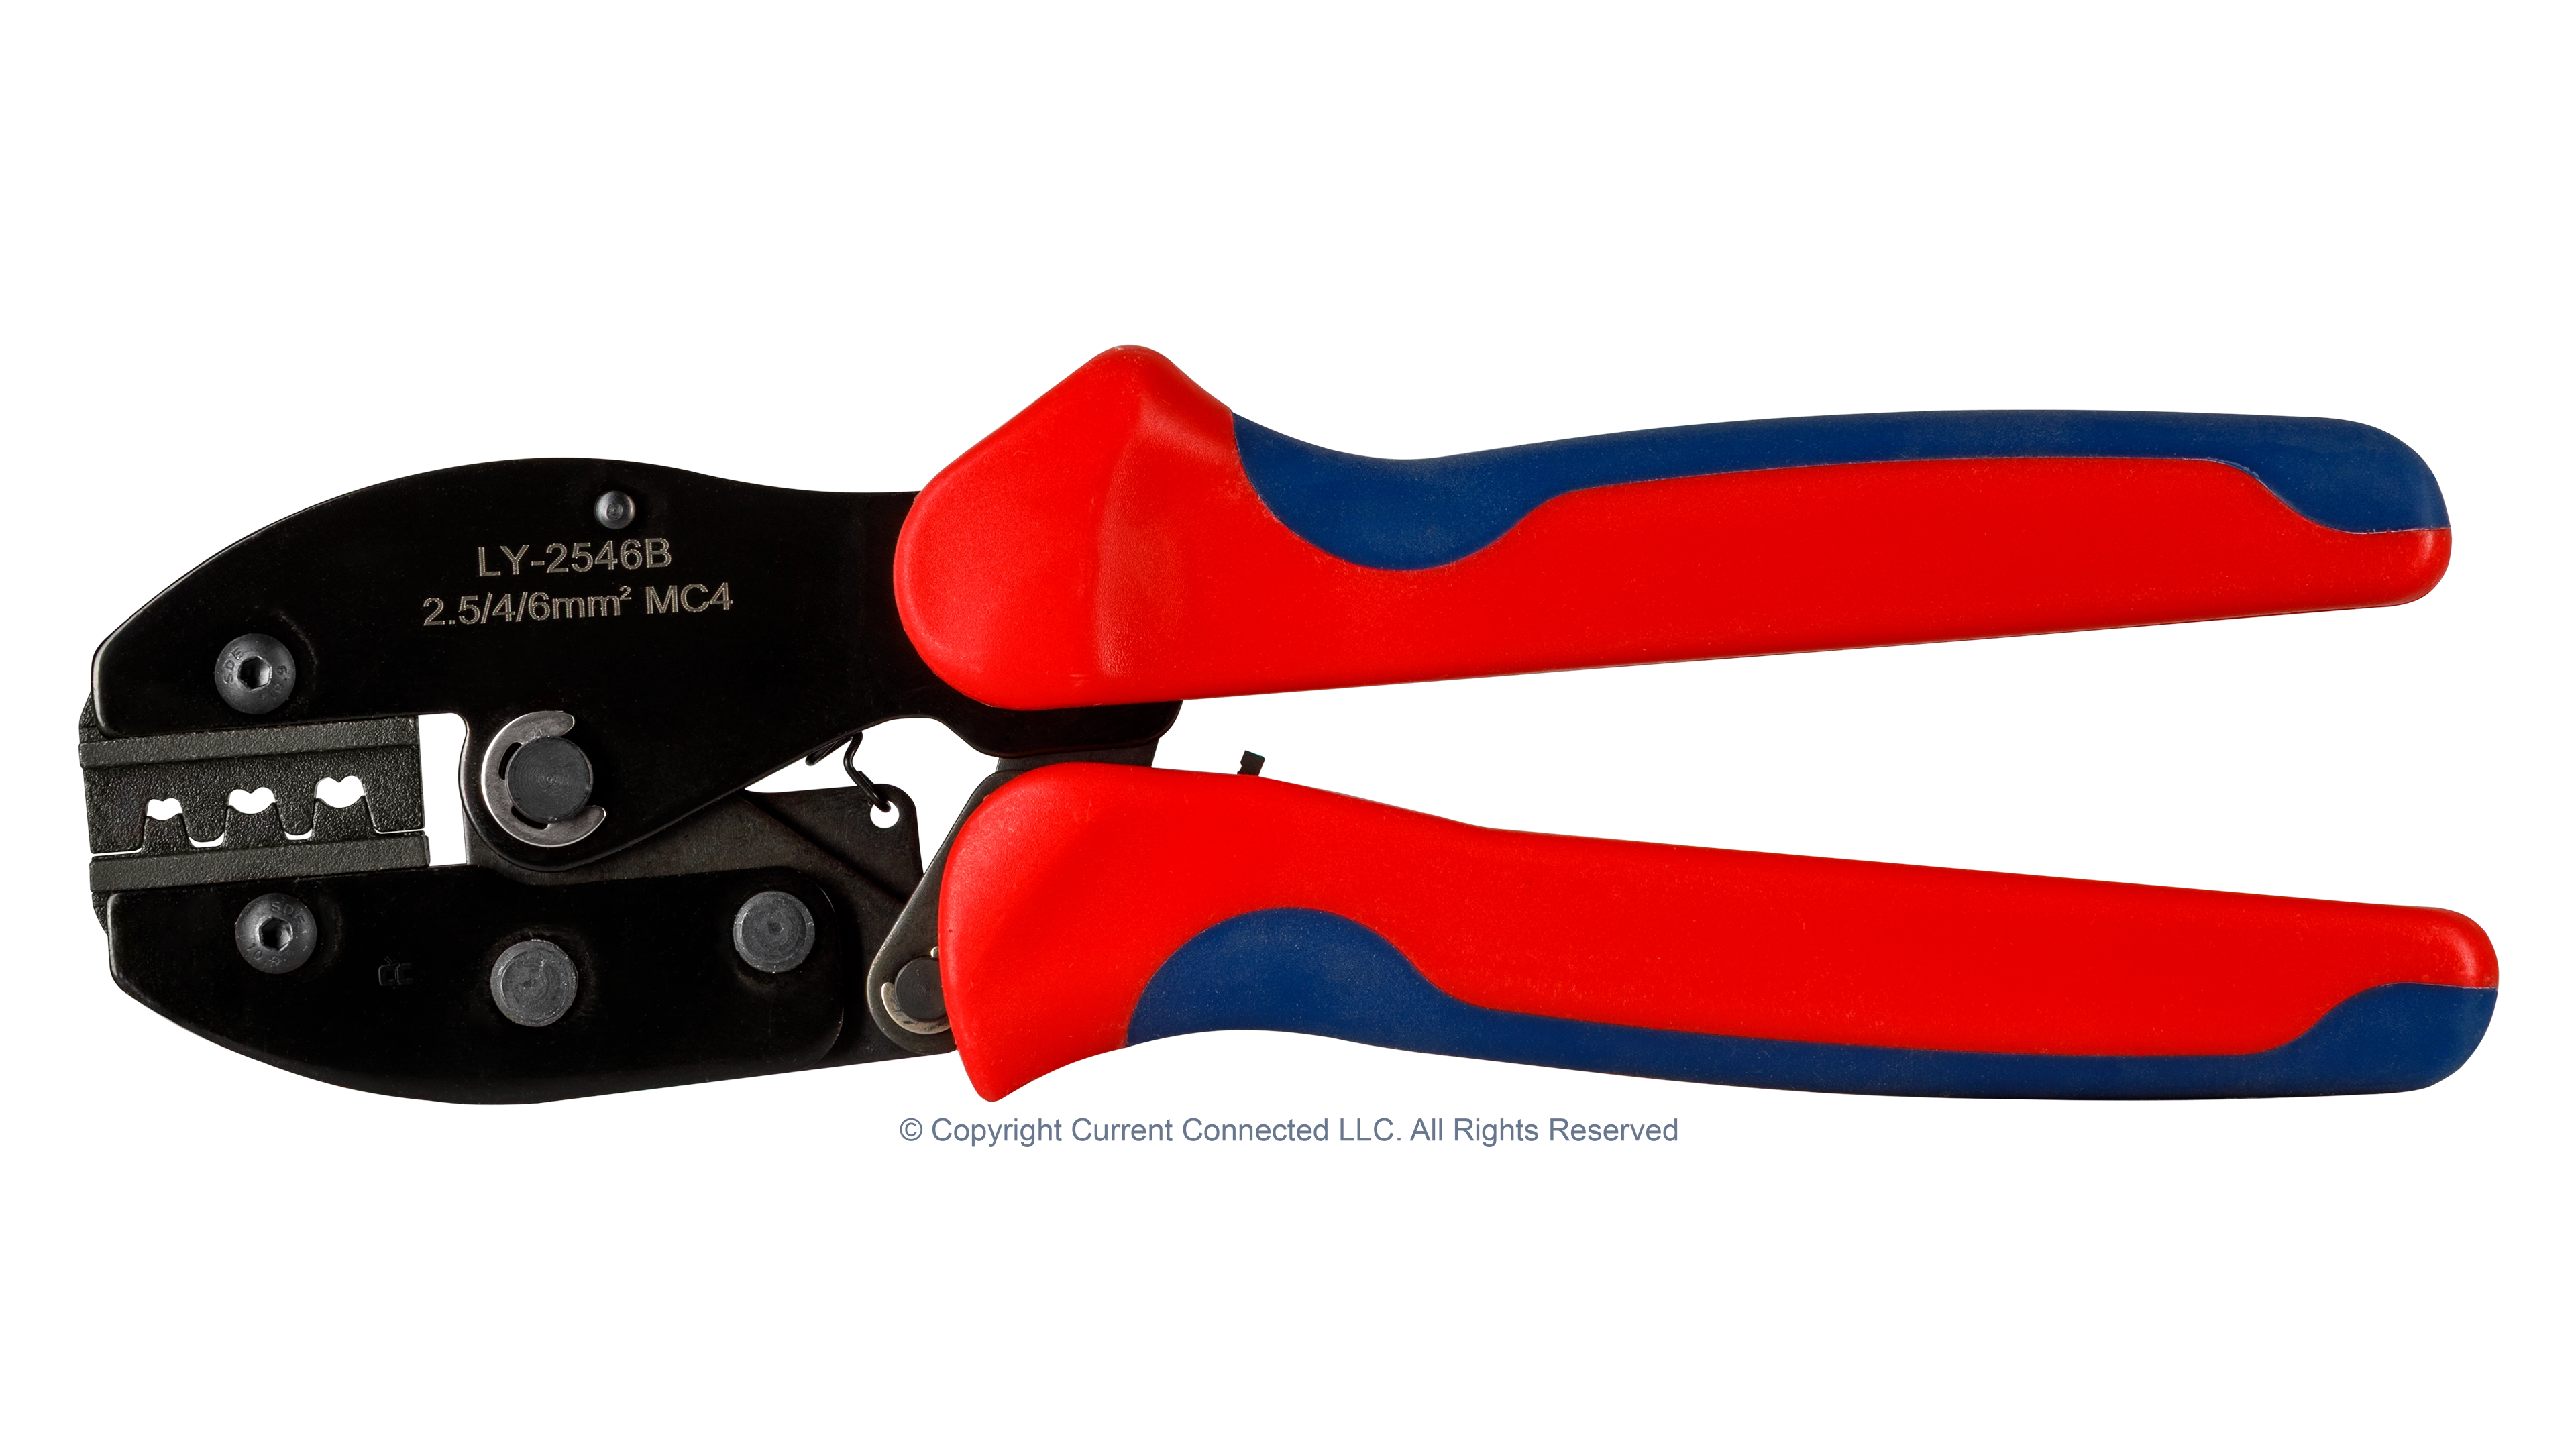
- Coaxial crimpers: Designed for F-type, BNC, and SMA coax connectors.
- Hydraulic crimpers: High force for large cables in industrial settings.
- Battery-powered crimpers: Portable, consistent crimps for field work.
Each tool type answers a specific need when understanding what is a crimping tool. Choose the type that matches your connector and cable size.
How a crimping tool works
Knowing what is a crimping tool requires understanding the basic mechanics. A crimping tool compresses a metal sleeve or connector onto a conductor. Compression deforms the connector so it molds around the wire strands. This creates mechanical hold and electrical contact without solder.
Most crimping tools use shaped jaws. The jaws apply controlled pressure. Ratchet tools lock until the set pressure is reached, ensuring repeatable crimps. Proper die selection and force are crucial for a reliable crimp.
Common uses and applications
Understanding what is a crimping tool helps when matching tools to tasks. Crimping tools are used across electrical, telecom, automotive, and industrial work.
- Electrical wiring: Terminals on wires for switches, relays, and panels.
- Networking: RJ45 connectors for Ethernet cables.
- Coaxial cables: TV, satellite, and broadband installations.
- Automotive: Battery and sensor connections needing vibration resistance.
- Heavy industry: Large lug crimps for power distribution systems.
On the job, I used crimping tools for quick repairs and long-term installations. A correct crimp often outperforms a poor solder joint in vibration-heavy settings.
How to choose the right crimping tool
Selecting a tool starts with the question: what is a crimping tool meant to do in my project? Consider connector type, wire gauge, frequency of use, and budget.
- Match the connector: Use modular crimpers for RJ45, coax crimpers for F-type, and lug crimpers for large cables.
- Check wire gauge range: Tools list supported AWG ranges. Pick one that covers your cables.
- Consider quality and repeatability: Ratchet and hydraulic tools give consistent crimps.
- Ergonomics and safety: Choose comfortable grips for long sessions and smooth ratchet release.
- Budget vs. lifetime cost: Higher-quality tools cost more but reduce rework and failures.
My tip: buy the right die set or tool for your connectors rather than forcing a general tool to fit. That saves time and avoids failures.
Step-by-step: how to crimp properly
When you know what is a crimping tool, the next step is mastering technique. These steps help ensure strong, reliable crimps.
- Prepare the wire: Strip insulation to the correct length. Avoid cutting strands.
- Select the connector: Use the right terminal and inspect for damage.
- Choose the die or jaw: Match die size to connector and wire gauge.
- Insert wire and connector: Fully seat the conductor into the connector barrel.
- Apply the crimp: Squeeze the tool firmly until the die completes the cycle or ratchet releases.
- Inspect the crimp: Check for correct compression and no exposed strands.
- Test the connection: Tug test and continuity check to confirm mechanical and electrical integrity.
I learned to always test one assembly before doing a batch. A single failed crimp can reveal a setup error and save many hours of rework.
Maintenance, calibration, and safety
Part of knowing what is a crimping tool means caring for it. Regular maintenance keeps crimps consistent and safe.
- Clean jaws and dies: Remove debris and corrosion after use.
- Inspect for wear or cracks: Replace damaged dies or jaws immediately.
- Lubricate moving parts: Use light oil on pivots per manufacturer guidance.
- Calibrate periodically: Especially important for hydraulic and high-precision tools.
- Use proper PPE: Eye protection and gloves when working with cables and tools.
Be transparent: even the best crimping tool can fail if dies are worn or connectors are cheap. Regular checks reduce risk of hidden failures.
Frequently Asked Questions of what is a crimping tool
What is a crimping tool used for?
A crimping tool compresses a connector onto a wire to form a secure mechanical and electrical joint. It replaces solder in many applications and is used widely in wiring, networking, and automotive work.
How do I know which crimping tool to buy?
Choose by connector type, wire gauge, and frequency of use. For repetitive professional work, pick a ratchet or hydraulic model for consistent results.
Can I use pliers instead of a crimping tool?
Pliers can deform a connector but usually do not provide consistent or reliable crimps. Use the correct crimping tool for safety and long-term performance.
How do I test a crimped connection?
Perform a visual inspection, a gentle pull test, and an electrical continuity test. Proper crimps show full compression and no loose strands.
How often should crimping tools be calibrated?
Calibration intervals vary by usage and tool type; for heavy use, check or calibrate every 6–12 months. Light hobby use may require less frequent checks.
Conclusion
A crimping tool is a simple but vital tool that creates safe, reliable joins between wires and connectors. Understanding what is a crimping tool, choosing the right type, and following proper technique will reduce failures and improve project quality. Start by matching your tool to the connector, practice good technique, and maintain your tools for consistent results. If you found this guide useful, try a small test crimp today, subscribe for more practical tips, or leave a comment about your own crimping experiences.