

Add a menu by registering locations, creating the menu in Admin, and calling wp_nav_menu.
I have built and edited many WordPress themes and I will show you exactly how to add menu in WordPress theme. This guide explains each step, from registering menu locations in your theme code to creating and styling the menu in the WordPress admin. Read on to learn practical steps, code examples, and real-world tips to make your theme menus reliable, accessible, and responsive.
Why menus matter in a WordPress theme
A clear menu guides users to key pages and improves site usability. Knowing how to add menu in WordPress theme helps you control layout, navigation, and user flow. Menus also affect SEO and site structure, so implement them correctly and cleanly.
Step 1: Register menu locations in your theme
First, tell WordPress where menus can appear. Open your theme’s functions.php file. Add a register_nav_menus call inside a function that runs on after_setup_theme.
Example code:
function mytheme_register_menus() {
  register_nav_menus(array(
    'primary' => 'Primary Menu',
    'footer'  => 'Footer Menu'
  ));
}
add_action('after_setup_theme', 'mytheme_register_menus');
After this, WordPress recognizes the menu locations. This is the core of how to add menu in WordPress theme at the code level.
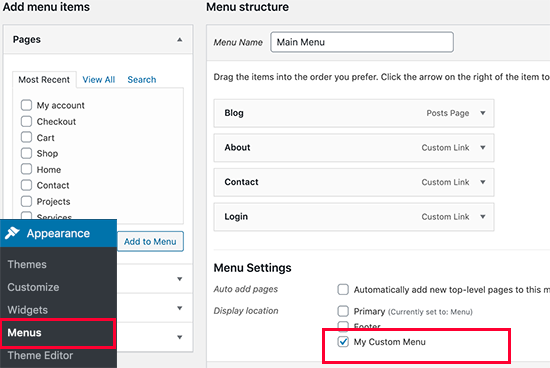
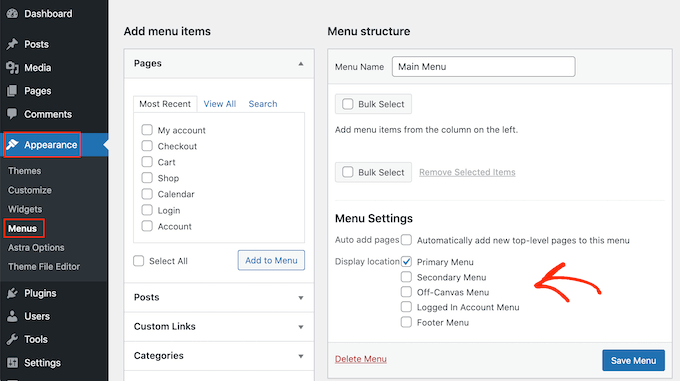
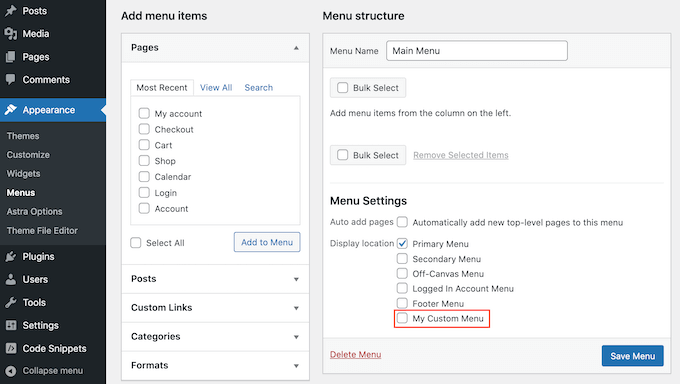
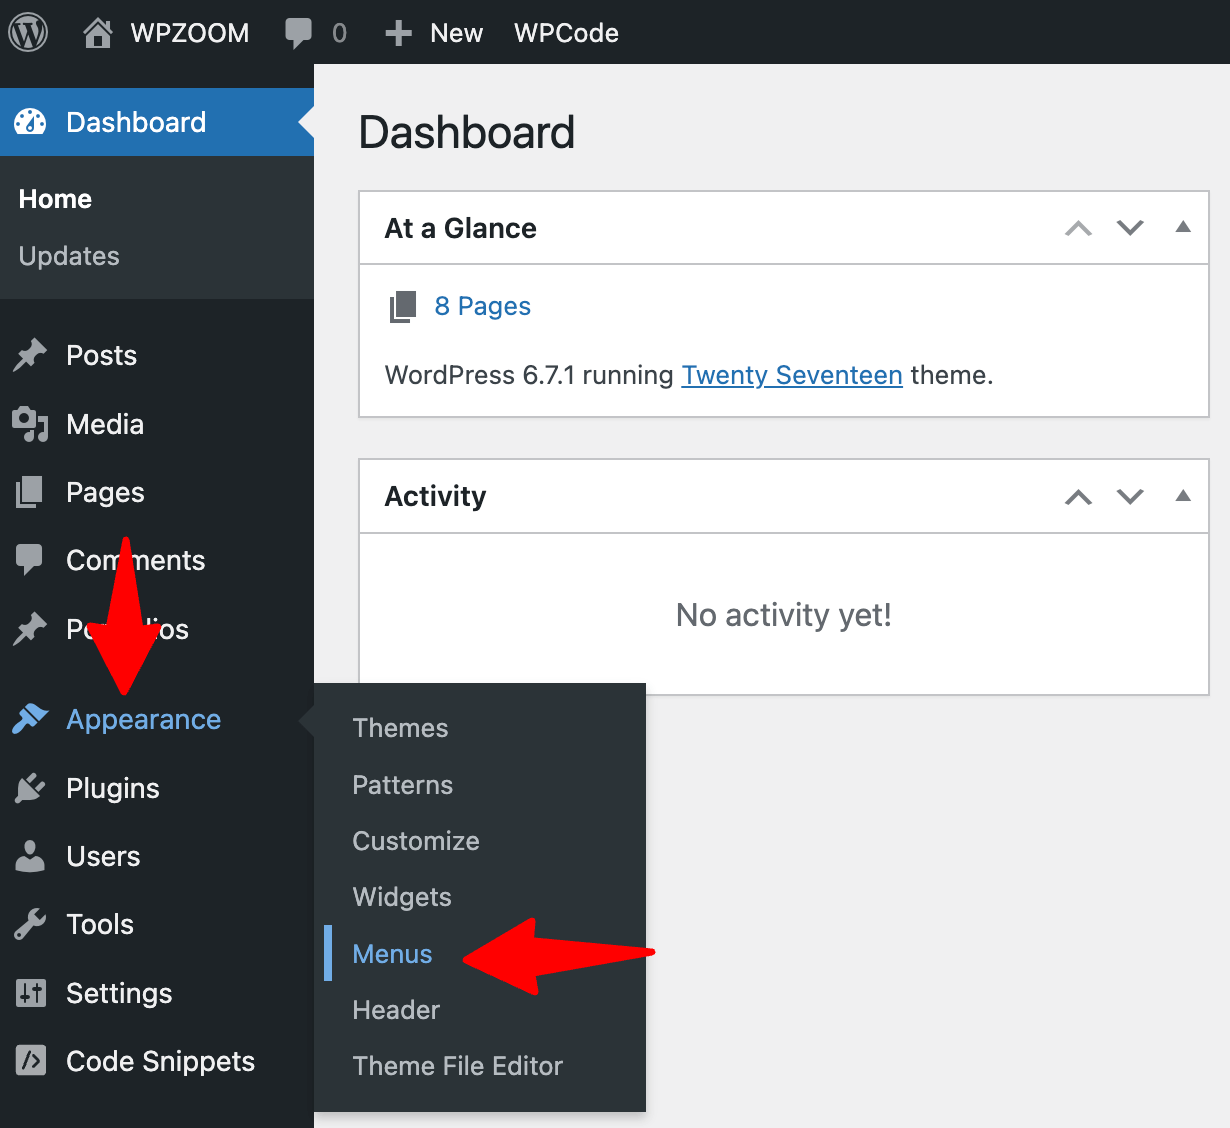
Step 2: Create and assign menus in WordPress admin
Follow these steps to build the menu in the dashboard:
- Go to Appearance > Menus.
- Click Create a new menu and give it a name.
- Add pages, custom links, or categories from the left column.
- Under Menu Settings, assign the menu to the location you registered (for example Primary).
- Save the menu.
Creating menus in the admin pairs with your code registration. This completes the user-side part of how to add menu in WordPress theme.
Step 3: Display the menu in your theme files with wp_nav_menu
Now output the menu in your header or another template file. Use wp_nav_menu to print or return the markup.
Basic example in header.php:
<?php
wp_nav_menu(array(
  'theme_location' => 'primary',
  'menu_class'     => 'site-nav',
  'container'      => 'nav',
  'container_class'=> 'site-navigation',
));
?>
You can change menu_class and container for styling. This is a key step in how to add menu in WordPress theme and control HTML structure.
Styling and making menus responsive
Add CSS to style the menu classes you set. Keep rules simple and mobile-first.
Simple CSS example:
.site-nav { list-style: none; margin: 0; padding: 0; display: flex; }
.site-nav li { margin-right: 16px; }
@media (max-width: 768px) {
  .site-nav { flex-direction: column; display: none; }
  .site-nav.open { display: block; }
}
For mobile toggles, add a button that toggles a class on the nav. If you need advanced markup, use a custom walker or JavaScript. Proper styling completes how to add menu in WordPress theme for all screen sizes.

Common problems and troubleshooting
Menus do not appear
- Ensure register_nav_menus is present and hooked to after_setup_theme.
- Verify the theme_location matches the one assigned in the admin.
Menu shows list but no styling
- Confirm menu_class and container_class match your CSS.
- Clear caches and disable minified CSS to test.
Submenus not working
- Check CSS for display rules and ensure JavaScript toggle targets the right elements.
These checks solve most issues you might face while learning how to add menu in WordPress theme.

Best practices and accessibility
Follow these steps to make menus robust and accessible:
- Use semantic markup with nav elements and role attributes when needed.
- Add aria-label or aria-expanded to mobile toggles for screen readers.
- Keep menu depth reasonable and label links clearly.
Accessibility and clean markup improve SEO and user experience. These practices make your approach to how to add menu in WordPress theme trustworthy and future-proof.

Personal experience and practical tips
I once built a client site where the menu worked on desktop but not on mobile. The issue was a missing toggle script and incorrect class names. I learned to always test menus on real devices and to name CSS classes clearly. When you add menu in WordPress theme, test these areas: location registration, admin assignment, theme markup, CSS, and scripts. Small mistakes in any step cause big headaches later.

Frequently Asked Questions of how to add menu in wordpress theme
How do I register multiple menus in a theme?
Add multiple items in register_nav_menus with unique keys for each location. Then call wp_nav_menu using the corresponding theme_location to display each menu.
Can I add a menu without editing code?
Yes. You can use a theme that already registers menu locations or use a page builder or plugin that creates and places menus for you.
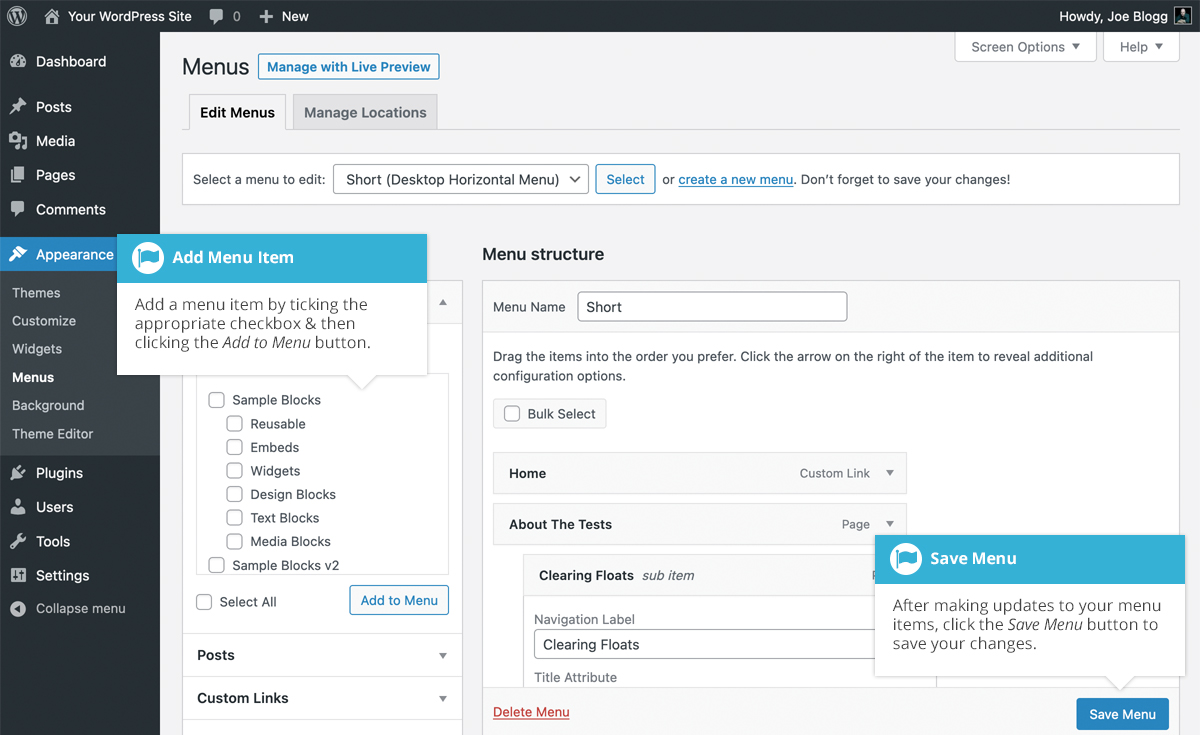
How do I add custom links to a menu?
In Appearance > Menus, use the Custom Links panel. Enter the URL and link text, then click Add to Menu and save.
What if wp_nav_menu prints no output?
Check that the theme_location matches a registered location and that a menu is assigned in the admin. Also confirm your theme files include the function call.
How can I add icons to menu items?
Use a plugin for menu icons or add HTML in the Navigation Label if your site allows it. Alternatively, use CSS to target specific menu item classes and add background images or pseudo-elements.
Conclusion
You can add menu in WordPress theme by registering locations, creating the menu in the admin, and echoing it with wp_nav_menu. Test each step, keep markup simple, and follow accessibility rules. Start now: register a location, create a menu, and place it in your theme; then refine styling and mobile behavior. Leave a comment if you need help or subscribe for more theme tips.